Sometimes you want tassels that transition from one color to another, sometimes you want rainbow disco mode. Either way, you likely won’t find a premade tassel or materials to make a consistent gradient of colors on a tassel.
While there are a number of tutorials out on the interwebs (Dharma has a really cool one on how to dye embroidery floss), the problem with a lot of tassels is mixed fiber types or a coating on the fibers. Unless you’re using yarn or macrame cord (see my article on Make your own tassels! about different types of materials), there is a good chance you’ll run into this problem. I certainly have. So let’s dye tassels with markers instead!
Skill level: beginner-friendly
Cost: mostly budget-friendly (if you use off-brand markers)
Materials:
- White tassel. Avoid tassels made with rattail or ones with a shiny sheen
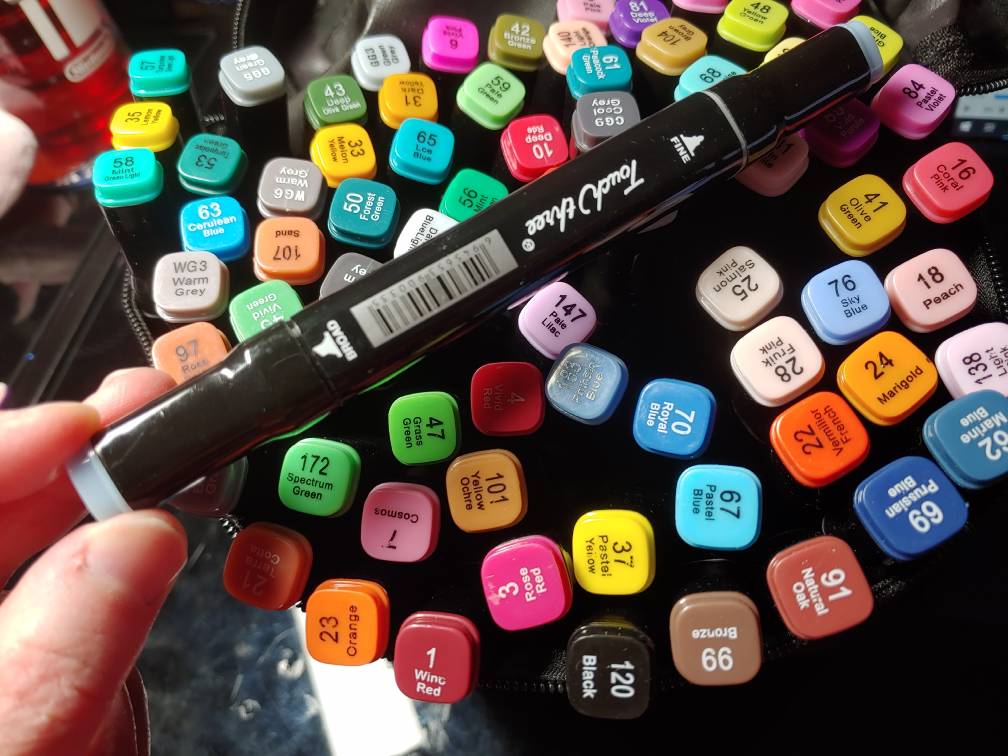
- Alcohol markers of your color choice. I use generic off-brand alcohol markers I got in an art set. Make sure they’re alcohol markers and not regular markers like Crayola.
- Paper to protect your surface
- Parchment paper
- Iron
To dye or not to dye

Dyeing and color theory are an entire subject in and of themselves, involving everything from fabric composition to color theory and mixing your own dye chemicals. If you want to delve deep into dyes, I recommend checking out Dharma Trading’s tutorials. However, let’s talk about a few basics of dyeing here.
To start, you want the dye to be bleed-resistant and colorfast. This means that once dyed, the color isn’t going to bleed down the front of your cosplay. In general, there are different types of dyes depending on the material composition you’re using, but if you buy a premade tassel, does anyone really know if this is 100% cotton or if it’s a blend? What about any sheens on that embroidery floss you’re using to make your own? We don’t really know. And that ambiguity can cause the dyes to bleed.
So to “dye” a tassel is more like actually painting it. Paints generally do not care what fabric type you’re using as long as it isn’t water-resistant. Shiva Paintstiks and fabric paints work pretty much that way. Those work great on fabric, but what about tassels? They’re a bit wiggly. And this is where markers, specifically alcohol markers, come into play.
Dyeing a tassel requires a paint medium that can be slurped up into the fibers then set with heat. Alcohol markers generally work on synthetics and natural fibers, as you can use them on both wigs (synthetic fibers) and on embroidery floss (natural fibers). The marker color on the tassel matches pretty closely to what you can scribble out on scrap paper, so pick a color that appeals to you, and let’s get to coloring!
Creating the gradient
Now that I’ve rambled on about dyes and paints, let’s get down to business. It’s time to create a gradient. You can’t dip the tassels into a cup of dye when you’re using markers. So instead, you can create a gradient-like effect by applying different amounts of pressure when working. This will create steps of color that give a gradient-like effect. You can blend two different colors this way by working in opposite directions or make a sunset gradient by blending several colors together with this process.

You’ll want to start one color at a time, starting with the most color-rich section first. Place paper or cardboard underneath the tassel and hold it down. Start marking heavily. Mark towards the bottom of the tassel, starting at the point where you want the color-rich section to end. Marking downward controls the strands best and keeps them together. Marking upward causes the strands to scatter and get out of control

Mark furiously until the fibers appear to be thoroughly colored. Flip the tassel over and scribble on the other side. You may need to flip the tassel on its side and mark there too.
Some fibers may have lighter spots than others. Because these are fibers that move, it may not be possible to get all the spots completely. If you don’t want any spots, single out the individual fibers and scribble on them until the spots are gone.
Now if you want a start contrast between colors, you can stop here marking here. But if you want a gradient, you’ll need to mark the next section with less pressure. The process is much the same as the color-rich section. Start marking, but this time, barely touch the tip of the marker to the tassel strands. This creates a much lighter color as you work.
Make sure to lightly mark all sides of the tassel until the color fills the section. This section will also likely have more light spots than the color-rich section. This adds to the gradient illusion, much like pixelated gradients do in pixel art.
Repeat the process to add more colors to your tassel. Overlap the light section of each color to make the colors look like they’re blending into each other.
Heat setting
The big trick to this method is heat setting. This is the process of applying heat to pigments to make them colorfast and permanent. During this process, it is possible that pigments can try to bond with other materials like your ironing board covers, so you’ll want some parchment paper to protect your board and your iron.

Start by sandwiching the tassel between two pieces of parchment paper, spreading the fibers out so the heat applies evenly to the tassel. Turn the iron up to the cotton setting and press for about 10s. Flip the tassel over and press the other side as well. Repeat twice.
Rinsing
Rinsing ensures that there’s no loose dye left in the tassel. If you start sweating or it rains, any loose dye will bleed out and stain your cosplay. We don’t want that. So it’s time to rinse what’s left.
Run the tassel under cold water for a bit. The time depends on how much extra dye is loose in the tassel. Run the water until the water flows clear.

Once the water is clear, press the tassel into a paper towel. If the towel becomes dyed, run the tassel under the water some more. If there are a few spots here and there, blotting the tassel with a paper towel should do the trick, but rinse again anyway. Repeat until the towel is clean when you press the tassel into it. The color should not fade during this process. If it starts to fade, dry the tassel and iron it once again before rinsing it out.
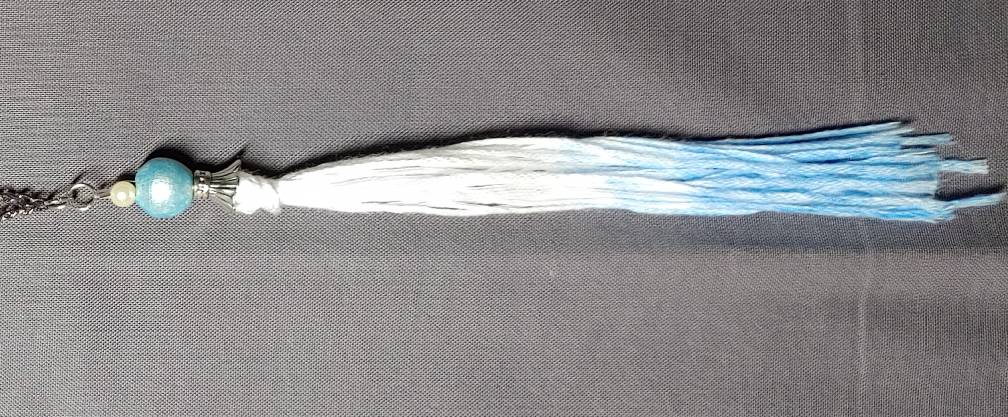
And that’s it. You have a custom cool gradient tassel for your cosplay!
I hope you found this little tutorial helpful! Soon you’ll be on your way to do all sorts of cool gradient tassels for your cosplays or even just change the color to your liking!

Let me know what tassels you make with this tutorial! @ me on social media so I can admire your work
