You’ve got your sewing machine, but now what? It’s time for some foundational techniques! Before you delve into stitches and notions and patterns, you need to know what to do with your hands and your foot when sitting down at a sewing machine. Sewing is a skill, not a talent, so the more you practice with the basics, the better you’ll get. It requires hand-foot-eye coordination that will take some practice to get used to. My tailor/seamstress grandmother taught me these techniques and I continue to use them still.
Sewing stitches on your machine isn’t just sticking some fabric underneath the foot then pressing the pedal. You’ll get very irregular and crooked stitches and probably some bunched fabric. That doesn’t make very nice-looking seams or hems. You have a good chance of the fabric getting tangled or the fabric going flying when you put the fabric under the presser foot. We don’t want that.
Instead, let’s start with a few foundational techniques which include what to do with your hands and the foot pedal. When you have a good foundation, you’ll be able to expand on what you know, stabilizing your stitches and your fabric once you get the feel of the machine.
Positioning your hands
When sewing with a machine, you never want to push or pull the fabric through the machine. This causes dropped stitches, crooked seams, and bunched fabric. The feeder dogs on the machine move the fabric for you at a speed that matches the movement of the needle. So what do you actually do with your hands when sewing?
The primary use of your hands when sewing is guiding the fabric. Fabric itself is quite heavy, especially when you start working with weighty fabrics or large pieces such as robes or cloaks. Even though the presser foot is applying pressure to keep the fabric moving, there’s nothing there to prevent the fabric weight from making it wiggle or slip right off your desk. This causes errant stitches and crooked seams.
Because of the shape of the machine, where the main body of the machine is on the right and the open side is on the left, the bulk of your fabric will generally be on the left side while seam allowances or hems will be along the right. This allows your hands to have specialized jobs when you work.
The left hand

Your left hand’s main job is to just guide the fabric. When you guide the fabric, you gently place a hand flat on it to the left of the needle along the wide edge of the machine. As the fabric moves, move your hand towards the back of the machine at the same speed as the fabric is moving under the needle. When your hand gets about halfway across the machine, pick up your hand and move it back to the front of the machine.
When first starting to understand this rhythm, press lightly on the foot pedal to move the fabric slowly. As you work with the fabric, this rhythm will feel more and more natural and you can increase the speed and match the movement with your hand.
The secondary job of your left hand is to straighten the layers of fabric. When you lift your foot off the pedal, it gives you the opportunity to smooth the layers and ensure you’re not sewing over layers you shouldn’t be. Once you’ve straightened the fabric, return your hand to a guiding position and continue on your way.
Backstitch position
This position is a special hand position when you take your right hand off the fabric to press buttons on your machine, usually for backstitching. You could leave your left hand in the main position, but I find it much easier to shift my hand to a new position when sewing with one hand.
When you move your right hand off the fabric to use the reverse button, move your left hand in front of the foot and place it on the machine. Spread your fingers. I find that spreading the fingers between the index and the middle finger is the most comfortable and gives the best control. You’ll be controlling the fabric with one hand, so you’ll need to press lightly on the fabric to keep it from wiggling but not so hard that you cause the fabric to slip.
When using a backstitch, it’s a small section where you move the fabric back and forward. This means you won’t be lifting your hand to place it back at the front of the machine. Instead, it’ll be moving back and forth much like the fabric does. You may get close to the foot, but because your hand is straddling on the fabric, you’ll be able to avoid hitting it with the foot or the needle screw.
The right hand
The right hand is versatile and has a few jobs. Because it sits on the side of the machine itself, it can move off the fabric and reverse the stitch. You can also make any adjustments to the stitches or move the handwheel when your foot is off the pedal. You can also use your right hand to remove clips or pins or adjust fabric along the right side. When working with bulkier fabrics, you may use your right hand to ensure the bulk of the fabric doesn’t get bottlenecked when passing through the machine.
The above tasks are more situational, so the right hand’s main task is to help stabilize and guide the fabric. Since the needle screw is on the right side of the presser foot along with the rest of the machine, your movement won’t be the same with your right hand as it is with the left. You don’t want to knock your hand with the needle screw. It won’t cut your hand, but it’ll probably hurt.
So instead, you’ll be guiding the fabric in front of the machine or slightly in front of the foot. Both positions have their uses, and oftentimes, you’ll find yourself switching between them depending on what you’re doing, what fabric you’re working with, and where you are with your stitches. Here are two common positions for your right hand and what advantage each position has.
On the machine
First position is in on the machine itself. When you have the storage tray connected to the machine, you have a good few inches to work with before your hand bumps the foot. You’ll want to use the section just to the right of the foot or right in front of the foot.
You can place your fingers or part of your hand on this section (it’s not large enough for your full flat hand) and gently let the fabric move beneath your hand. You would only need to move your hand or apply any pressure if the fabric starts getting out of line. Make sure not to press so hard on the fabric you stop it from moving underneath the presser foot.
This first position is useful for wide fabrics when you’re top stitching. You can also use this position to guide shorter lengths of fabric or the end of your fabric in the machine where resting your hand in front of the machine isn’t really possible.
In front of the machine
The second position is in front of the machine. when working with seams and hems, you have a flat edge to work with on the right side. You can gently hold this flat side of the fabric (no pinching!) and let the fabric simply slide through your hand. As you’ll probably have pins here, you’ll want to make sure your thumb is loose and near the edge so it passes right over the pins during sewing.
When your hand is in front of the machine, you can rest it on the table, against the front of the sewing machine, or keep it even with the machine itself. Personally, I keep my hand floating as it makes it much easier to adjust the fabric as I work.
This position is good for whenever you have a flat edge to hold. Seams, hems, edging work. This position gives you control for long lengths of fabric and helps keep the layers of fabric or the hem fold in place while you work. You can use your fingers underneath the fabric to feel for any fabric out of place or simply to smooth it out while you work. This position also makes it easy to pause in sewing, adjust the layers of fabric, and resume sewing with your hand back on the edge of the fabric.
The foot pedal
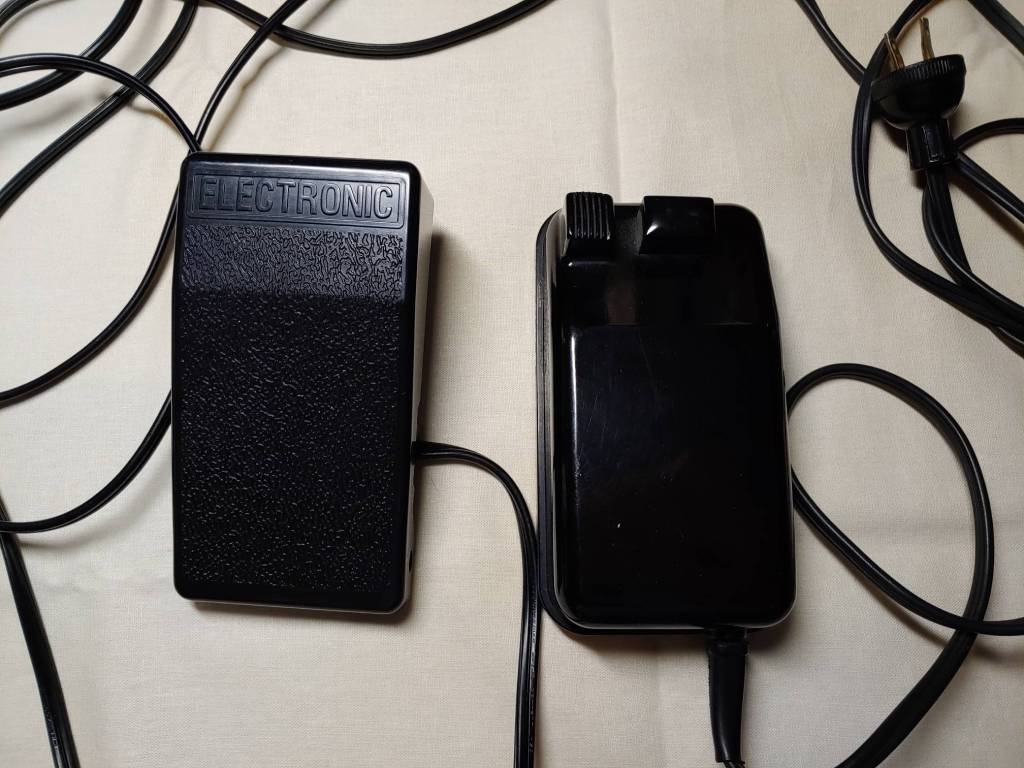
In addition to your hands, you also have a foot involved. The pedal is controlled by the pressure of your foot. In modern machines, the pedal looks like something you’ll find in a driving game or a wedge of cheese. Older machines may have buttons or levers. Non-electric machines have a platform called a treadle where you power the machine with the energy of your own feet. But unless you’re into vintage machines like this, you’ll likely have a pedal or a button.
Understanding how to control the speed of your machine with the pedal is as crucial as knowing your hand positions. The two go hand in hand, perhaps hand and foot in this case. If you press too hard on the pedal, the machine will go flying and you’ll lose control of your fabric. Press too lightly and generally, nothing will happen. It may also complain at you with a sort of whrrwhrr sound as it attempts to move but the speed is too slow for it to do anything.
The ideal speed of a sewing machine is variable. If it weren’t, all pedals would have on and off and nothing else. The speed depends on what you’re comfortable with and what sort of work you’re doing. Curves will tend to be slower, especially tight ones. Anything that requires details will also require precise movements and a slower stitch. Stitches straight along a hem or a seam are likely your fastest stitches.
When you start out, it’s going to feel like first learning how to drive a car or play a racing game. You may press too little or way too much. But that’s what practice is for. You can’t get a feel for the fabric and the speed of the machine until you sit down and try. The more you work with fabric, the more you’ll understand the speed needed for a particular stitch.
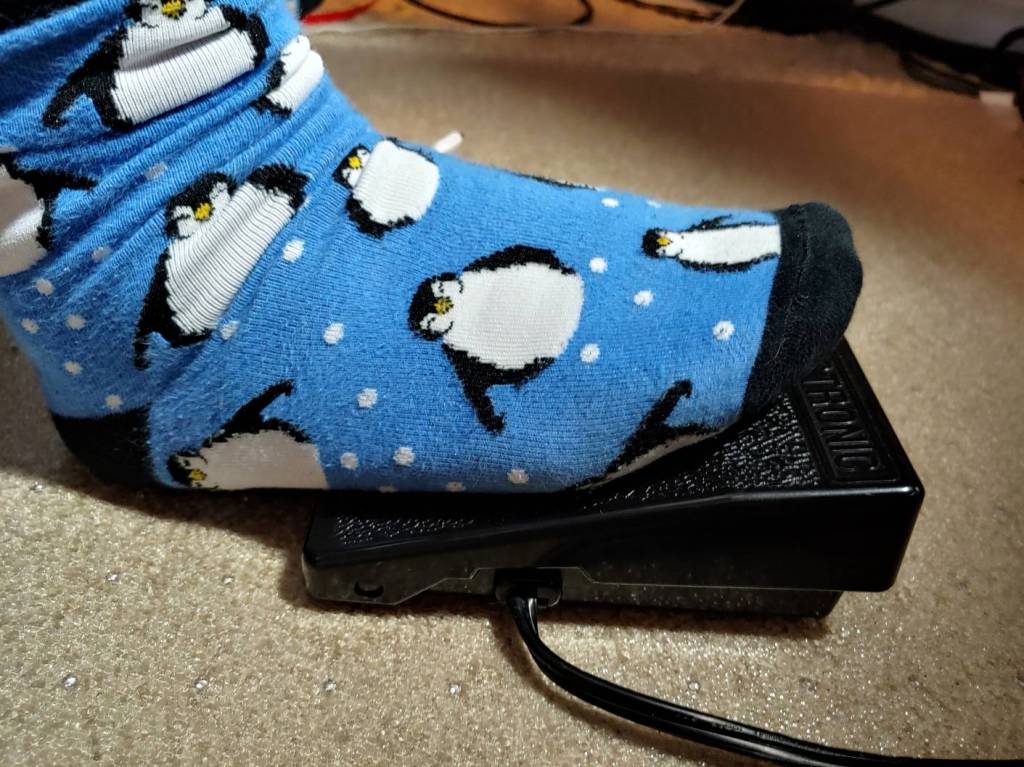
For modern machines and vintage wedge-shaped pedals, you’ll place your foot flush against the pedal with your heel on the floor. Vintage button pedals may take a bit of maneuvering to find the proper position, but generally resting your foot on top of the pedal and using the ball of your foot to control the speed seems to work best. For pretty much all foot pedals, the right foot works best.
When getting started, start with slower stitches. You’ll find yourself stopping and starting abruptly a few times until it begins to feel like an extension of yourself. If you work too slow, the machine will make a whrr sound and you’ll need to press a little harder. If you press too hard, no worries. You’re not going to break the machine. You might lose control of your fabric and make some errant stitches, but that’s about it.
Practicing without thread
You can run your machine without thread or a needle, and that’s a good way to get a feel for the sewing machine. You can leave the bobbin thread in, but pull the spool out of your sewing machine. If you’re nervous about the needle, remove it, but you’ll need to eventually practice with a needle once you get into stitching.
To get started with practice, grab some scrap fabric. Make sure it’s a reasonable size of scrap so you have plenty of room to work with. Pull the spool. Make sure to plug the pedal into the machine and then into the wall. Place the fabric underneath the needle, the bulk of the fabric towards you, lower the presser foot, and let’s begin.
Start with using both hands, the left on the machine and the right in front of the machine. Since this position requires you to only move the left hand, it’ll be a good place to get used to the motion. Press on the pedal to feed the fabric. Get a feel for how fast the machine goes compared to how much you press it. Start slow, but if it starts making the whrrwhrr sound, press a little harder.
If you reach the end of your fabric or you find yourself going off the fabric. Or perhaps you pressed too hard and lost control. No worries. Lift your foot off the pedal and set it to the side. Raise the presser foot, relocate the fabric, lower the foot, and try again.
Once you get a feel for how to move your left hand on the fabric, hold the fabric with your right, and coordinate with your foot, move your right hand onto the machine and in front of the foot. Go slowly with this one as you’ll need to get used to lightly pressing on the fabric. Too hard, and you’ll notice the fabric bunching or yanking against your grip. Too light and the fabric will wiggle. This one may take more practice than the other position, but it’s incredibly useful when working with short lengths of fabric or wide ones where holding the side isn’t possible.
Your final practice is the one-handed backstitch. Use your right hand to press the reverse lever. When you’re starting, make sure to release the foot pedal before reversing the stitch or going forward. This will help you keep the fabric steady and help you with the coordination and control of both your hands. Press lightly, but don’t press too much. If you notice the fabric tugging against you or slipping underneath the foot, you’re pressing too hard.
Tips
Here are a few big tips when you’re getting started
Don’t fear the needle
I’ve had people come to me and say, “I can’t sew. I’m afraid of the needle.” The needle is sharp and moves at a high speed, so definitely don’t go sticking your hand underneath it. But that’s not a reason to be afraid of it. If you position your hands properly, you have a pretty low risk of actually hitting your hand with it. I’ve been sewing a very long time and I’ve hit my hand with the needle once and it was because I paying too much attention to the TV. It barely nicked it and I just wrapped it up and moved on.
When sewing, you have more of a chance of hitting your hand with the needle screw than the needle. It hurts. Your knuckles or fingers will probably throb for a bit. But that’s about it.
Just make sure to pay attention to the fabric and your hand placement, and always always take your foot off the pedal and place it to the side when working with the needle or around it. If you’re safe about it, you’ll be fine!
Working with pets
I’ve worked with cats pretty much my entire cosplay and sewing adventure. It can be a challenge. They want to get in your business and play with your materials. There are a few rules I have with pets when it comes to sewing
- Don’t let them near the needle or any moving parts. It’s honestly best to train them to stay off your sewing desk to prevent any injuries.
- Keep them out from underneath the desk. When working with the machine, you often have it turned to an on position. This flips the light on so you can see when you work. But what happens when your cat sits on the foot pedal? Whoops. If you notice your pet trying to get next to your feet, try to keep them away from your pedal. I trained my cats to stay away from that side of my desk so they wouldn’t sit on the pedal or step on it while I was working on the machine.
- Be mindful of fabric weights. Pets like to nest in large pieces of fabric, so if you notice that the fabric is pulling and there’s an extra warm body nested within, gently move your fuzzy friend before continuing on.
Make sure to keep you and your pets safe while you work!
Give it a go! Don’t expect to be perfect first try. This takes coordination, much like learning to type or playing a new game. It’s like watching speedruns. I see people do crazy things in Super Mario so naturally, it makes the game look easy. But when I sit down? I fall into a pit, and the goombas laugh at me. But like speedrunning, sewing is a skill. It takes time and practice. The more you do it, the more it will feel natural and look that way too!
Give these techniques a few tries. Get a feel for the machine and how to move the fabric. Next week, we’ll get started on actual stitches!
