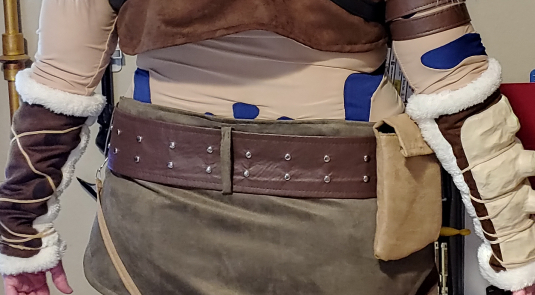
Sometimes you just need a custom belt or you can’t find one that actually matches the belt needed for your cosplay. That definitely was true for my Link cosplay when I needed a 3″ wide studded brown belt in my size. Fortunately, we’re cosplayers. We can make our own.
This technique works best with soft faux leather and thinner vinyls like tablecloth vinyl as anything heavier isn’t going to fold over and make that nice edge at the top and bottom of your belt.
This belt probably isn’t going to hold your pants up but it can hold some weight like a small belt pouch, a lightweight prop, or your phone. Anything heavier and the canvas supporting the belt may start to sag.
The belt itself can be finished off using a real buckle and some eyelets or faked using a clasp. For Link’s belt, I used the latter.
Alright, let’s make some belts!
Skill level: intermediate
Cost: moderate
Materials:
- Soft vinyl or faux leather at least double the width you want + your waist length with a few inches to spare on either side. Add extra to the side if you want the belt to buckle.
- Duck canvas of equal length
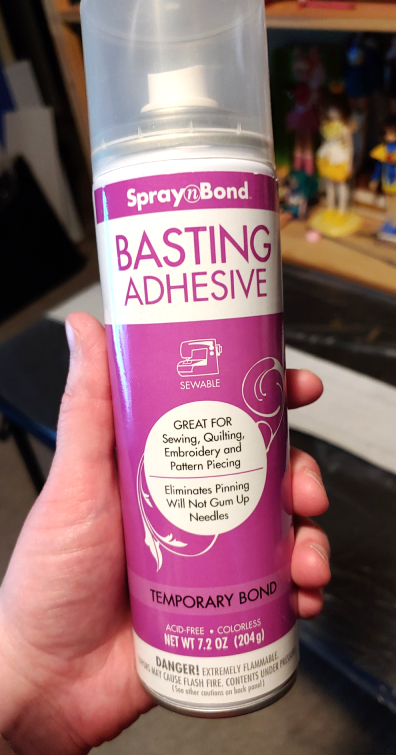
- Basting spray. I use Spray N Bond, but any will do.
Supplies:
- Sewing machine with polyester thread matching your vinyl
- Leather needle
- Walking foot
- Pens or pencils
- A clear ruler. A yardstick is also good for marking long belt lengths
- Tape measure
- Fabric scissors
- Plastic to cover your work table so it doesn’t get sticky
- Iron with ironing board, pad, or thick towel for canvas
Optional hardware:
- Studs (with an awl to punch holes)
- Belt buckle with eyelets
- Slider buckle (avoids eyelets)
Starting with support
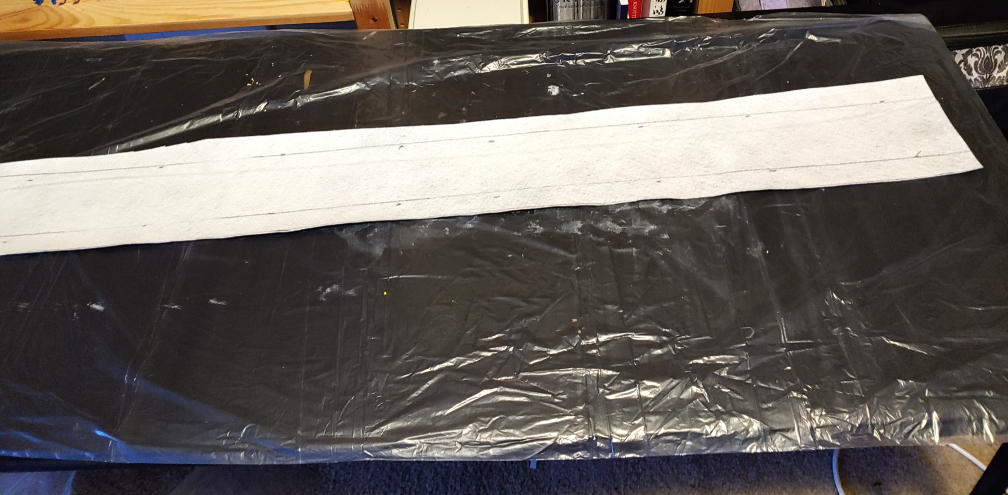
Since the belt is made by wrapping and layering fabrics, start with the inner structure first. The support structure is made using a single layer of duck canvas. The canvas should be cut the width you want the belt. Since I wanted a 3″ belt, my canvas is cut at 3″ wide.
The length varies, but don’t worry about this measurement just yet. We’ll cut the belt to length after cutting out the proper width.
Using your ruler, mark the width of your belt across the canvas. Mark this across the crossgrain (aka the grain lines that run perpendicular to the selvage and fold of the fabric). You can mark the width with tick marks then connect the marks using a yardstick to save some time with marking.

You can leave the fabric folded for marking, but make sure your lines are straight so you don’t accidentally cut a V out at the fold. Once you’ve marked your fabric, cut the canvas out and iron out any wrinkles. It’s easier to measure the length after you’ve cut it out than guestimate before.
Take your canvas and lay it flat. Lay the tape measure or yardstick over the canvas and measure out your waist length plus a few inches. More if you want to buckle the belt with a real buckle. Mark this measurement then cut the excess canvas off.
Cutting the vinyl
Next, it’s time to cut out the vinyl. Vinyl and faux leather typically have a right and wrong side to the fabric, and it’s pretty easy to tell which one. The right side will have a more leathery or plasticky feel, and the wrong side will feel different. Vinyl is sometimes felt-backed, so it will have a softer feel. Faux leather sometimes has a rough feel. Either way, you want to mark the wrong side of the fabric when marking for your belt.
Set the vinyl face down on your table. You’ll want to make 3 lines across the back while you work. The inside section will be the exact size and width of your belt (for Link, that was the 3″ width I wanted) while two outer sections will be a seam allowance. I like to use about a 3/4 to 1″ seam allowance for my belts if I can help it. it’s easier to trim the excess off than find you don’t have enough room to sew.
This diagram of my belt shows the different lines and measurements you want:

That belt width marking is especially important as we’ll use this to accurately line up the canvas with the belt in the next section.
Draw your lines along the wrong side of your vinyl. The crossgrain works best here as well and will require you the least amount of fabric to complete your belt. Faux leather does have a stretch to it, so mind your grain lines. Vinyl generally does not care, but stick to the crossgrain regardless to save on fabric.
Once you have all your lines marked, cut only along the outside seam allowance markings, leaving the belt width and inner markings intact. Cut the length a bit longer than the canvas for some leeway when sticking the layers together or if you want to create a finished edge.
Stick it down
Now it’s time to stick everything together, but let’s first talk about basting spray. It’s a pretty useful temporary glue that doesn’t gum up your sewing machine or needle, but it’ll stick to literally everything else. Covering your work surface will be important here to keep from gumming up your carpet or creating a permanent sticky spot on your table.
Because basting spray sticks to literally everything, you don’t want it on the front-facing side of your belt. Once you spray the glue, don’t pick up and reposition the vinyl as you’ll end up with spots on the vinyl itself. If your vinyl is longer than your table, spray in sections, moving the plastic along your table to reposition the belt for the next section.
And I cannot stress this last part enough (because I’ve done it multiple times myself), don’t place your vinyl down in a place you’ve already sprayed else you get glue stains don’t he vinyl. If you plan on making multiple belts, you’ll want to fold the plastic and set the vinyl down on a clean section each time.
Alright, now that best practices are out of the way, let’s spray that belt.
Set the vinyl face down on your plastic. Shake the can of spray glue if the can tells you to then spray a thin layer along the wrong side of the vinyl fabric. Carefully place the canvas down on the vinyl, matching the edges of the canvas up with your belt width lines you drew. You can reposition the canvas if you need to, though avoid doing it too many times else the glue won’t be as sticky.
After sticking the canvas down, roll the seam allowance over the edge of the canvas to create a solid edge.

Do this for both edges of the belt. As basting spray dries relatively quickly, if you find that the vinyl isn’t sticking, lightly spray the back of the belt again before sticking the seam allowance down.
If you want to use a real belt buckle, finish one end of the belt off by folding the excess vinyl over the canvas much like you did the sides. Trim the corners as needed to make the vinyl sit flat.
Sewing the belt
As basting spray is temporary, you’ll want to sew your belt soon after gluing it. You can sew the belt face-up or face-down, it doesn’t matter. I tend to sew mine face down so I can see the edges of the folded fabric. Sew at about a 1/4″ seam allowance.
You need a walking foot for this type of material. If you sew with a regular presser foot, the foot will get stuck on the texture of the material and you’ll find yourself yanking the fabric to get it through the machine. The walking foot will walk the foot along the top of the fabric so it feeds evenly on both the top and the bottom of the fabric.
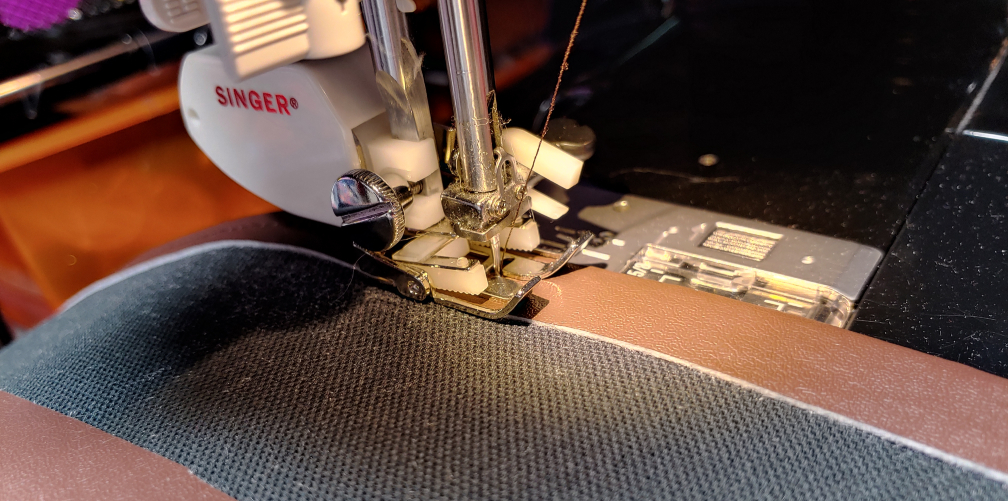
I’m using a modern Singer presser foot I got at the fabric store. Most feet in modern machines look like mine, though vintage and industrial feet may actually look like they’re walking. The foot works by using the screw holding the needle to move the walking foot’s feeder dogs up and down.
You can use a non-stick foot, but I find a walking foot is much more effective when it comes to vinyl and faux leather.
Sew both edges of the fabric. If you are finishing one of the ends, sew a stitch along this edge to secure it too.
Finishing touches
It’s time to finish that belt off. Here are a few things you can do with the belt
Belt buckles
There are a few types of belt buckles you can use. The easiest is going to be a slider buckle. Sew the unfinished edge of the belt around the bar in the middle and slip the finished end of the belt through. The fabric will generally keep it from sliding back out of the slider.

There are other options and this one I used for Link’s belt. You can make a fake belt buckle and have the belt snap behind it. Since this process requires a bigger explanation, it’s best to go over and see how to do this in its own article, Paper mache decorative belt buckle. This will go over how to build the buckle, add details and wiring, and finish it off with paper mache and paint. It also talks about how to attach the belt, so if you have a mondo buckle like Link, this could be an option for you.
If you want to make it closer to a real belt, it’s time to get the eyelet pliers out. Real belts have a bar in the middle of the buckle to keep it from moving. The bar goes into the eyelet holes. It’s something you don’t really think about when wearing a belt, but now you have to make them. You’ll want to evenly space out your eyelets evenly. The next section will talk about spacing if you need help with that!
Studs
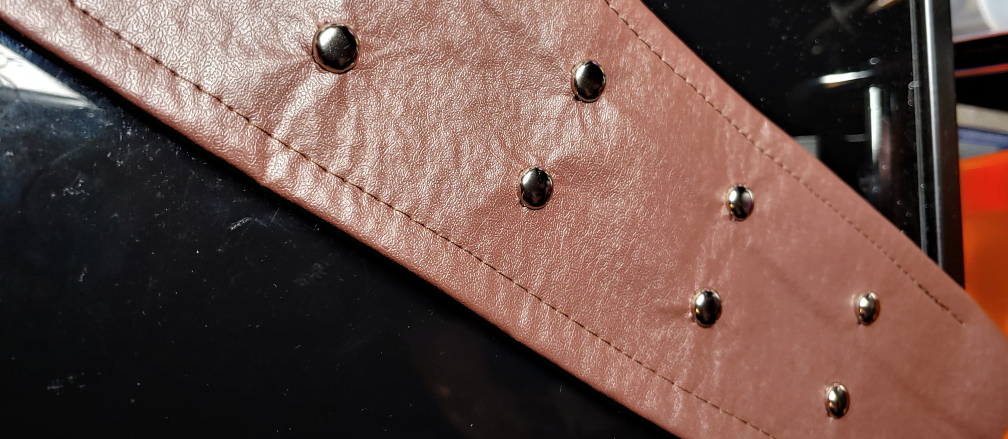
Studs are pretty cool and come in a few different shapes like pyramids or round pinheads. But to make them look like a real belt, they need to be evenly spaced.
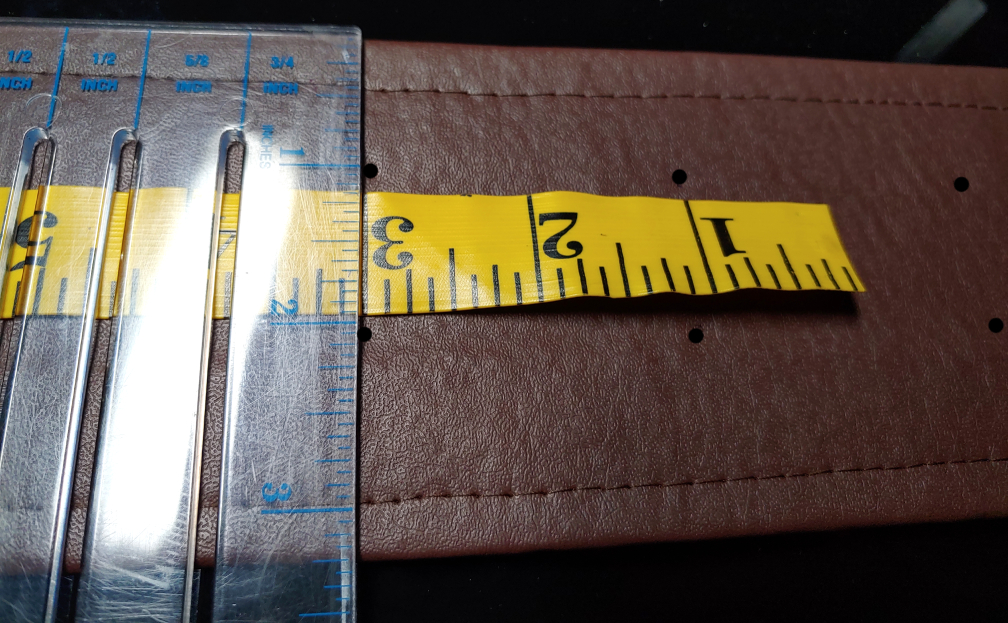
Since the belt is long, you’ll need two rulers to get the proper spacing for studs (or even eyelets). A thin yardstick or a tape measure works best for the longer length. A clear ruler will work great for the cross-length.
Using a tape measure or yardstick, measure the full length of the belt and divide the belt evenly to determine how many holes you want to make. If you end up with a weird number like 2.33333333333, just round to an easier number like 2″. For mine, I spaced mine out every 2″ since I had a weird number, which is a good place to start if you don’t want to do any math.
Setting the yardstick or tape measure down on the belt, use the clear ruler to start marking dots lightly with a pen where you want to add your studs.
Once you’ve marked your spots, use an awl or an ice pick to punch through the layers and apply the studs. If you have trouble pushing the back of the studs into the thicker fabric, use the edge of closed pliers or a flat-head screwdriver to push them in for you.
You can use the same technique when adding eyelets though the holes punched through the belt will be much larger to allow for the larger eyelet size.
After adding all your details, enjoy your new decorative belt!

I hope you enjoyed this tutorial about making decorative belts! I use this technique quite a lot for belts and even decorative belt-like accents. It’s a good way to make a belt in any size you need for your cosplay!
Let me know what belts you make with this tutorial! @ me on social media so I can admire your work!
