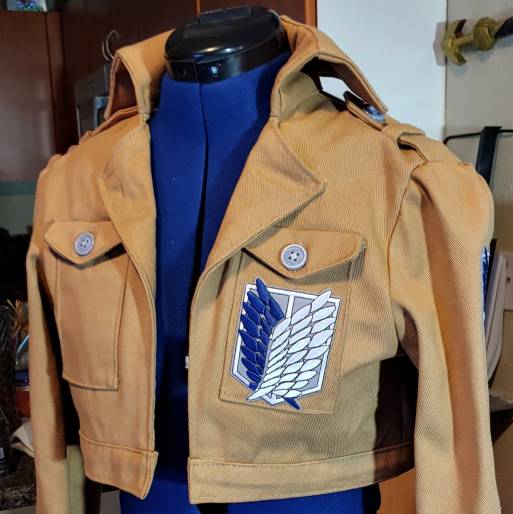
Sometimes you just need a nice chest pocket on your jacket or dress shirt and none of your patterns seem to have what you want or need. I came across that trouble when I was making Mikasa’s jacket from Attack on Titan for my sister. Fortunately, drafting a pocket requires just a little bit of math and a ruler.

And since I wanted these functional, the buttons really work. You can add buttons or snaps or sew them closed, though this tutorial mostly covers how to work with buttons.
This method works best when you have no darting or minimal darting or contouring seams on the front chest of the jacket or shirt.
Skill level: intermediate
Cost: minimal
Materials:
- Scrap fabric matching your jacket or shirt. Fabric is recommended to be medium-weight and preferably take to ironing. Scraps can be from the jacket or shirt you’ve already made to reduce the costs.
- Button or snaps
- A garment to attach the pocket to (unlined. You can attach the lining after this)
Supplies
- Sewing machine with needle matching your fabric type
- Thread that matches the color of your fabric
- Buttonhole foot (if you are using a real button)
- Open toe or clear foot (optional)
- Stick pins
- Ruler
- Pens or pencils for drafting. Do not use a permanent marker on fabric
- Steam iron (if your fabric can be ironed)
- Fabric scissors
- Stick pins
Drafting the pocket
The pocket size may vary depending on how large your shirt or jacket is. Chest pockets tend to be rather large and cover about a third to a half of the garment’s size, so you can use that as your starting point. If you want to test out a size first, cut a sample out of paper and hold it up to your garment to check the size. The final pocket will have a seam allowance added to it.
Not up for drafting the pocket? You can use my pocket pattern here!
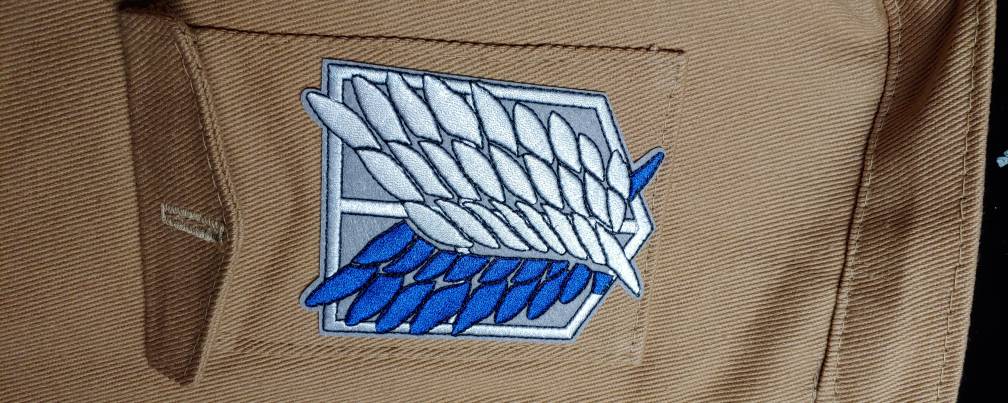
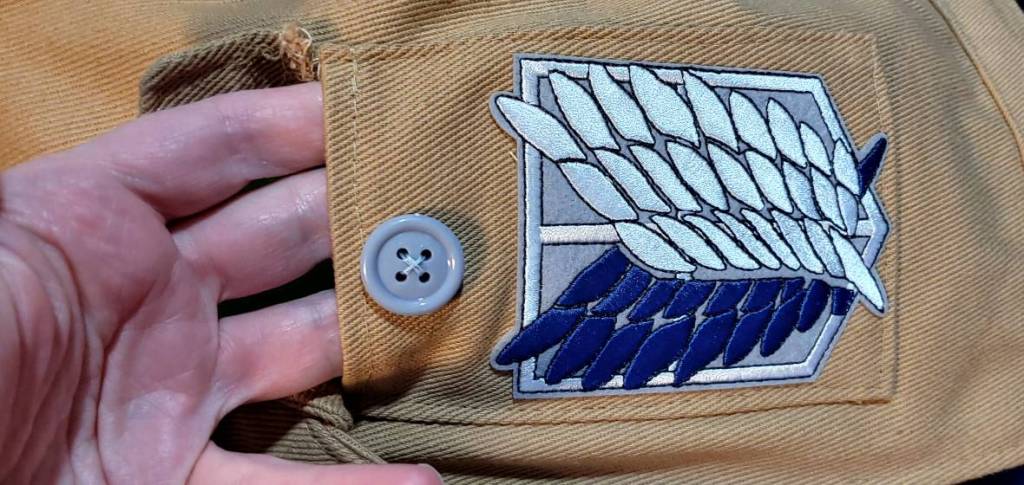
For Mikasa’s pockets, I cut out a rectangle 4″ x 6″. This allowed for a 1/4″ hem on all sides and fit the patch that sits on the left pocket. The patch is meant to be rather large on the chest pocket, and this size barely fits the patch.
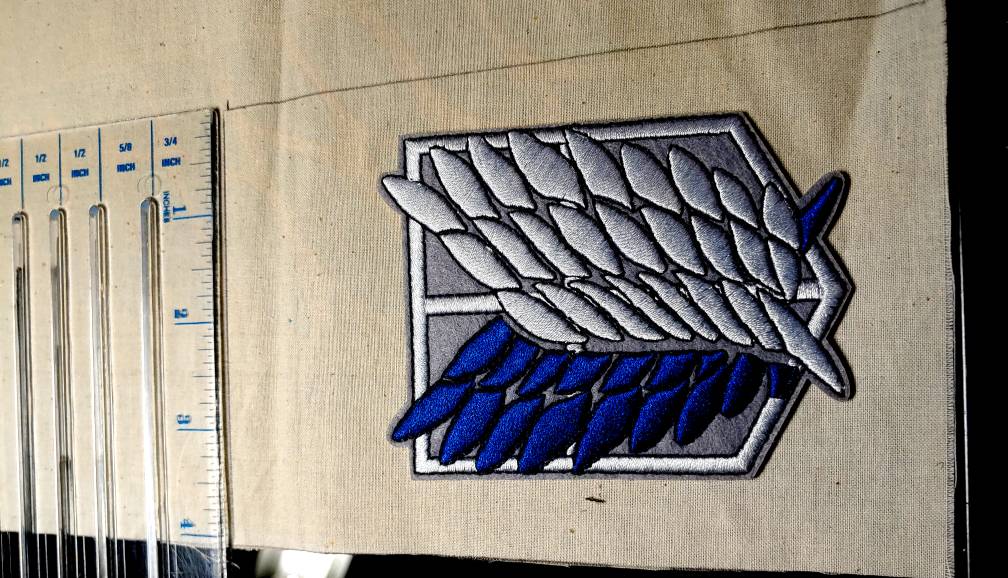
If you have a patch, I recommend setting the patch out and adding about 1″ on the side and 2-3″ above to ensure there’s enough room for both the patch and the flap.
Cut one rectangle per pocket.
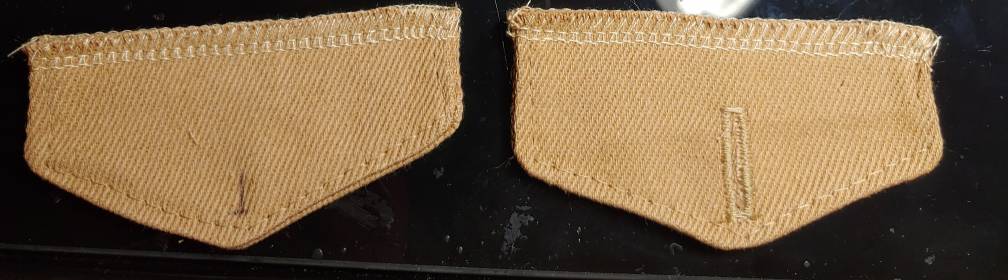
Next is the pocket flap. The flap is generally a triangular shape, though you could do a square as well. It needs to fold over and have enough room for the button and the seam. It’s about 1/4th to 1/3rd the height of your pocket to allow for thin 1/4″ seams.

To test the size, fold the flap over the pocket, making sure you have enough room for your button and any patches or decoration on the pocket itself.
Cut two flaps per pocket.
Prep work
Before sewing the pocket down, you’ll need to do a little bit of prep work beforehand. For my pockets, the raw edges are serged as denim frays like crazy. You can serge your edges, pink them, or leave them raw depending on the fabric or your preferences.
Flap
You have two pieces of flap, so they’ll need to be sewn together to make a finished flap. Sew them right sides together with minimal seam allowance at about 1/4″, leaving the bottom of the flap open. Clip the corners.

Flip the flap right-side out, using your finger or a point turner to push the corners out and iron it flat. Finish off the raw bottom edge if needed. Also if needed, add a top stitch around the edge to keep the flap sitting flat.
If you are planning to add a buttonhole, now’s the time to do it. Center the buttonhole using the point of the flap, matching the bottom a smidge above the edge.
If you have a one-step buttonhole stitch on your machine and need help with it, you can check out Using the one-step buttonhole option on a sewing machine. Make sure to use the button you plan on attaching to the pocket in your buttonhole foot!
Finish all the raw edges if desired.
Pick an edge to be the top of the pocket. This will be one of the two shorter edges, though it doesn’t matter which you pick. Fold the top edge down to the wrong side with a 1/4″ hem, ironing it flat before sewing a straight stitch across the hem.
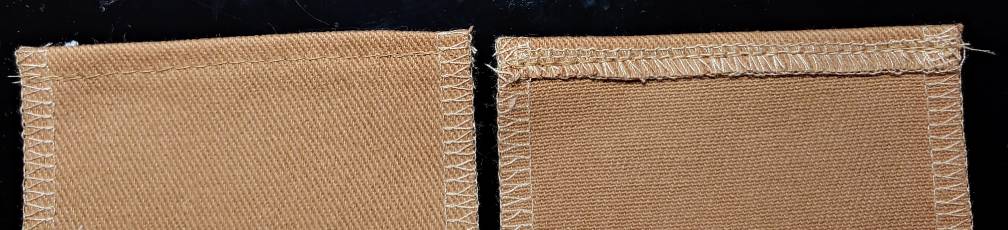
Fold each edge over to the wrong side with a 1/4″ hem, ironing it flat. You do not need to sew it down here as it’ll be sewn down when attaching to the jacket or shirt.

You can optionally iron down any patches now or after you attach the pocket.
Attaching the pocket
Lay your garment flat on a desk or a table, making sure that the front opening of the jacket or shirt lays flat and evenly with the back fabric off to the side and out of the way. The front opening for most garments is straight up and down. Even if you have lapels, there’s a certain amount of the front opening that is vertical. And you can use this to align your pockets on the front of the garment evenly.
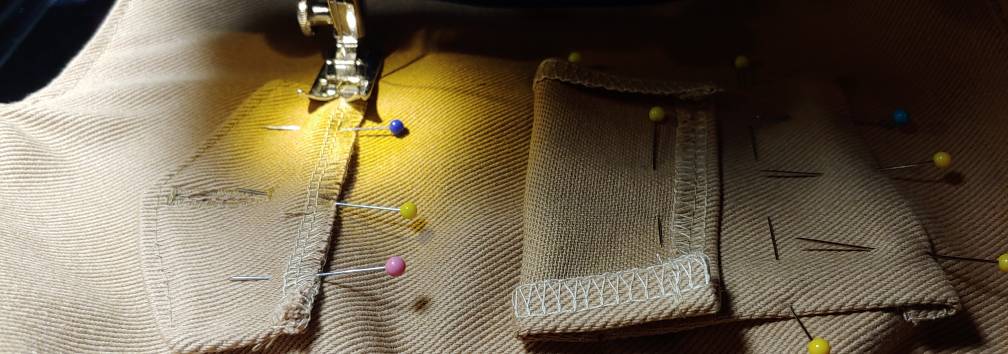
The pocket is generally placed a few inches from the front opening. The exact measurement will depend on how wide your garment is, but you can guestimate with about 3″-4″ to start. Place your pocket down on the fabric and align the pocket at that distance from the front opening using a ruler. Pin down the lower half of the pocket. Make sure the hemmed edge of the pocket is facing up.
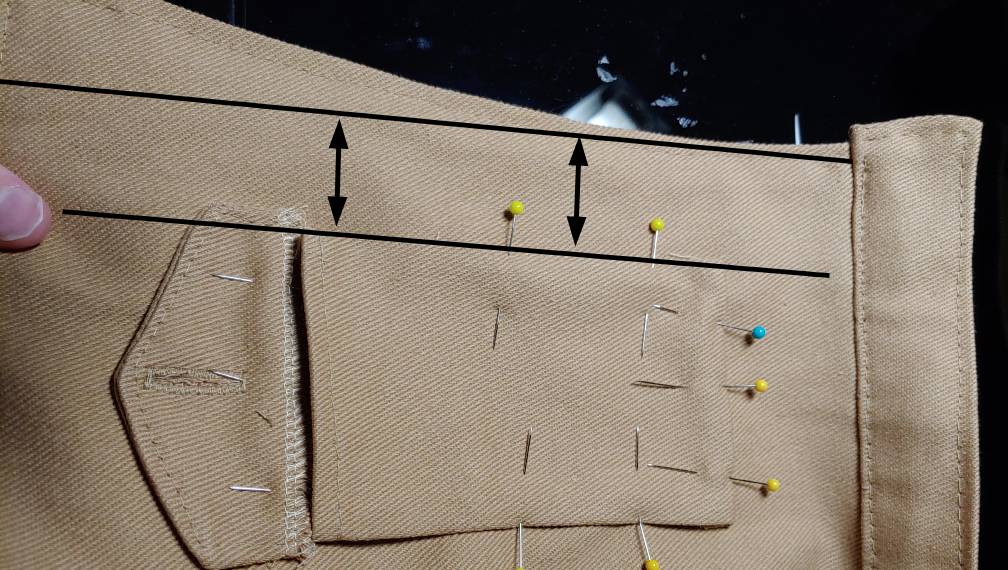
Once the pocket is where you’d like it, place the flap right at the top of the pocket. Roll the top of the pocket down and pin the flap in place.
With the pocket still rolled down, pin the top of the pocket down temporarily and sew the flap down with a straight stitch. You have about 1/4″ seam allowance here.
Remove the pins and unfold the pocket, placing it back in the full upright position. Pin the pocket fully down and sew a straight stitch along the edge of the pocket.
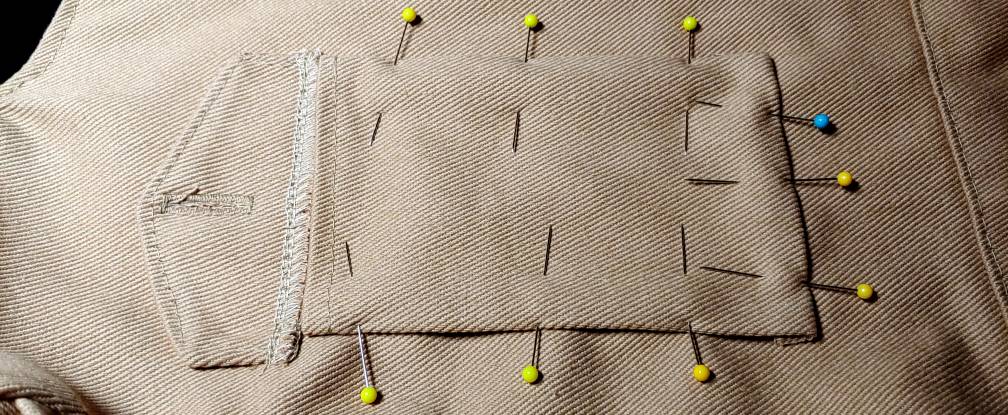
You’ll want to get pretty close to the edge with a small 1/8″ seam or so. If you have trouble seeing the edge, you can use a clear or open toe foot for your machine to make it easier to see.
Remove the pins, fold the flap down, and press it. This will keep the flap from buckling when worn. If you haven’t done so and still need a patch on the pocket, attach the patch with an iron. It’ll be easier to iron now before adding buttons or snaps.
Adding a button
For this tutorial, we’re adding a button. Most chest pockets do have buttons, but some designs may just appear to flatten down. In that case, you’ll want to add a pair of snaps underneath the flap. But this tutorial covers how to add a button!
With a buttonhole
Fold the flap down flat onto the pocket. If you have a buttonhole, take a pencil and lightly mark the inside of the buttonhole. This transfers the position of the buttonhole onto the pocket itself.
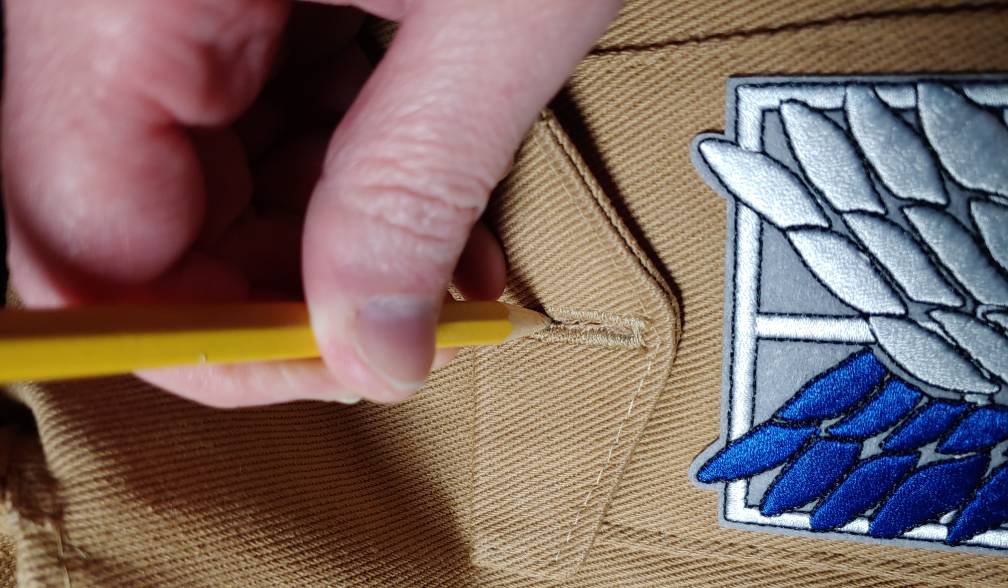
Open the flap and pull the pocket forward with your hands. Place the button in the center of the line you drew (the button may cover the entire line) and sew the button down, sewing only through the pocket and not the entire jacket.
And now your pocket is finished!
without a buttonhole
Without a buttonhole can get a little tricky as it depends on if you want to sew the pocket shut or not. If you want to use the pocket, sew snaps near the center of the flap where it comes to a point, attaching the snap to the pocket much like the button above before attaching the button. If you don’t want to use the pocket, you can sew the button right through all the layers.
The button itself should attack just above the edge of the pocket flap. Center the button along the triangle point or using a ruler to place it in the center, depending on your flap shape.

Once placed, if you have snaps underneath, sew the button only to the flap and watch out for the snap underneath. If you are sewing the pocket closed, pin the pocket flap shut and sew the button down through all the layers.
And that’s it, you’ve added a button!
I hope you enjoyed this tutorial on how to draft and sew your own working chest pockets for your next cosplay! You can attach them to anything with minimal or no seam lines around the chest.
So add them to your heart’s content for your next chest pocket cosplay needs. Cool-looking and functional!
Let me know what pockets you make with this tutorial! @ me on social media so I can admire your work.
