Using appliques to make designs and details on a cosplay is great until you encounter the circle. You can double-layer a lot of designs but that doesn’t work with circles since you can’t flip them right-side out. However, there’s a trick you can use that should help you get a great circle every time.
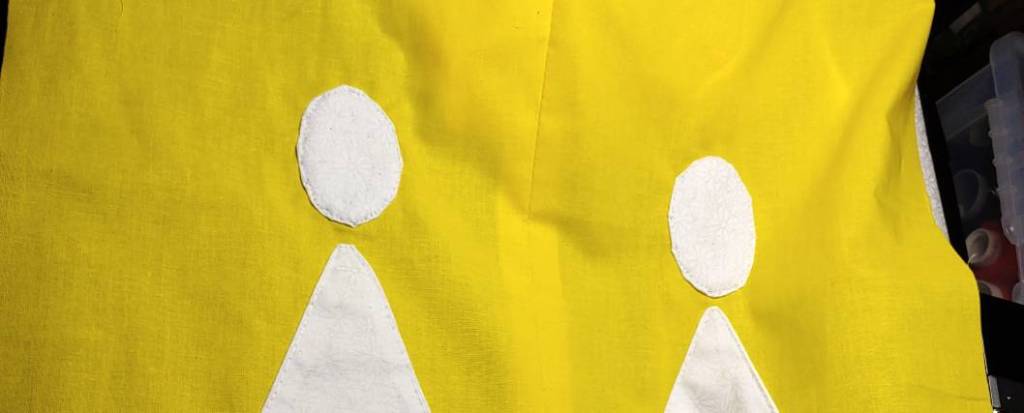
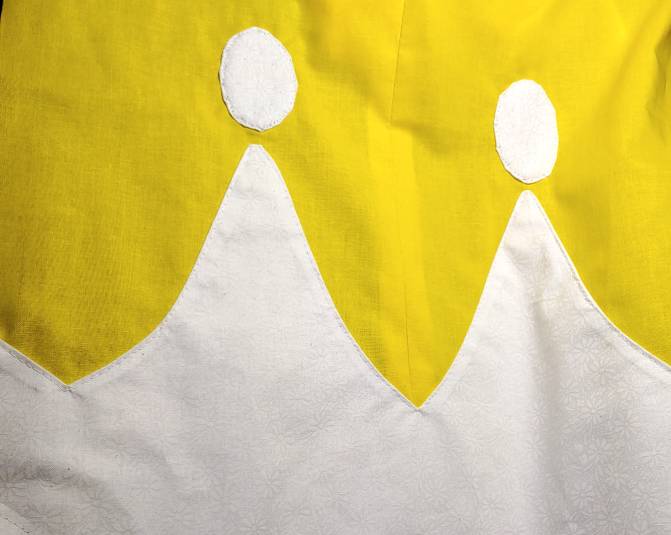
When I set out to make a Princess Daisy-inspired battle dress, I wanted to make her traditional scalloped design with spot accents. Making circles freehanded always comes out crooked, but fortunately using a template makes the perfect circle every time. While you could use a bunch of different stabilizers or materials, the easiest and cheapest is just a piece of felt!
So let’s make circle appliques!
Skill level: intermediate
Cost: budget-friendly
Materials:
- Scrap for the applique (unless you want a really big circle then lots of fabric). The best fabric to work with is cotton-based fabric
- Scrap felt in a similar color to your fabric or lighter. This is especially important if you’re working with a light color
- Cosplay or fabric to applique the circle to
Supplies
- Scrap paper for making a pattern
- Pen for patterning
- Scissors for paper (don’t use your fabric scissors on paper)
- Scissors for fabric
- Straight pins
- Sewing machine with matching thread. Can also be done by hand
- Clear foot, open-toe foot, or zipper foot recommended for a close stitch to the edge
Creating a circle pattern
Before you cut into the good fabric and the felt, it’s best to make a pattern first! You’ll want to decide how big or how small your circle needs to be. The smaller the circle, the more difficult the stitches will be so be mindful of the size and how tightly you can sew a curved stitch.
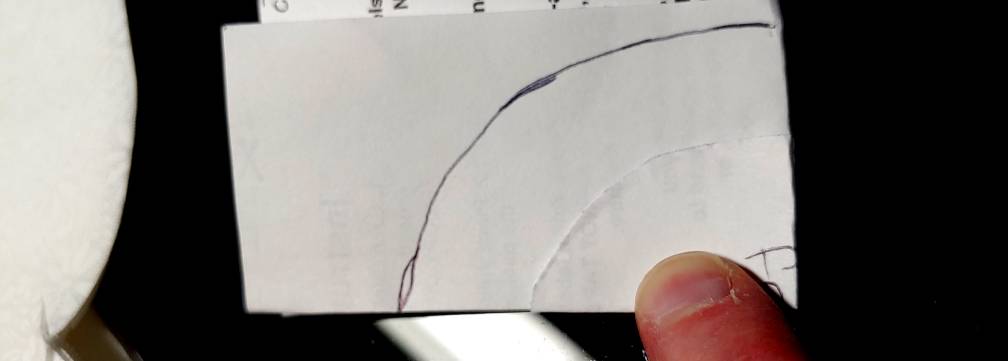
Place your cosplay that you want to applique the circle to flat on a table. It’s time to make paper circles. Fold the paper into fourths and draw a quarter circle or oval. You can freehand it or use a template like a cup, bowl, or even the bottom of a spool of thread. Cut the circle out folded then unfold it and place it on your cosplay for size reference.
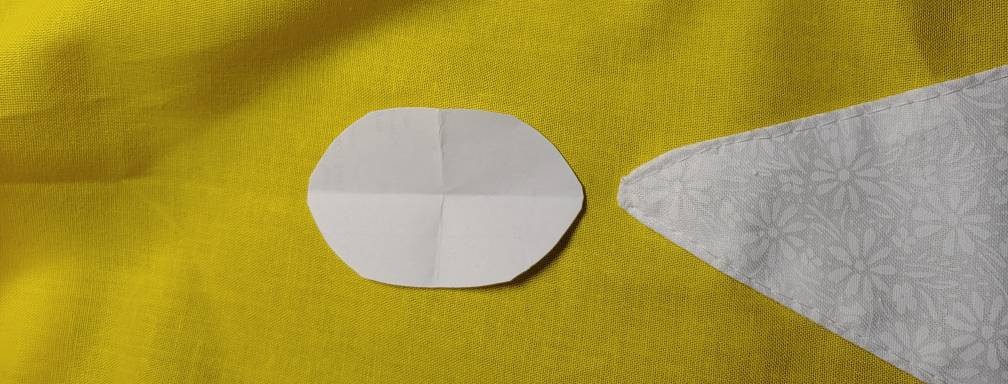
It may take a few tries to get the circle the right size. I think it took about 3 different ovals to get the proper shape for my Daisy cosplay, so keep at it until you get the size you want.
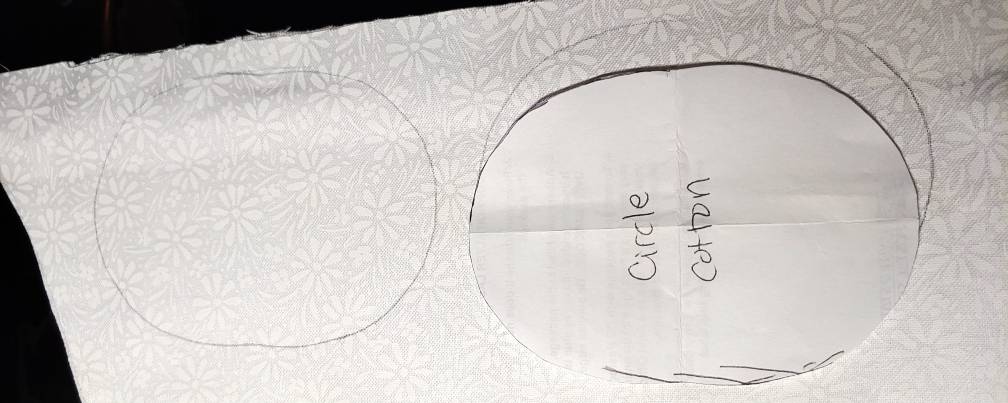
This shape will be the pattern for the felt, but we can’t make the cotton applique fabric the same size. Instead, we’ll need to make it larger than the circle. The easiest way to do this is to fold a new piece of paper up into fourths. Fold your felt pattern circle back up and place it along the fold.
Draw a larger circle around 1/2″ or so larger than the smaller one. This circle will be the applique fabric pattern.
Cut and tuck
With both the felt and applique circle paper patterns cut, it’s time to cut everything out of your fabric. Cut out your felt circle using the smaller circle pattern and the applique fabric out of the larger circle pattern. If you are making more than one circle, cut a pair out for each circle needed.
But we can’t sew this down as is. We need to make those edges look nice and prevent fraying. So it’s time to tuck.
Pin the felt to the wrong side of the applique fabric in about the center. It doesn’t have to be exact here. Flip the circle pins so that the felt side is facing up. Now snip the edge of the fabric towards the felt but not quite reaching it as if you’re clipping the curve on a seam. These clips should be along the curve. If you’re making a true circle, you’ll have clips around the whole thing whereas an oval will have fewer clips if any along the long side.
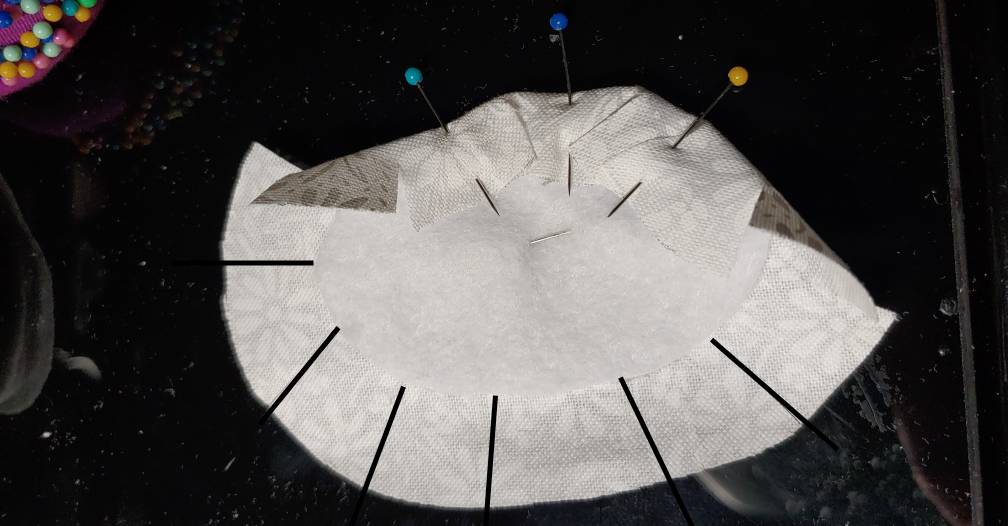
Once clipped, wrap the applique fabric over the felt and pin it down. Make sure not to pull on the applique fabric so that the circle continues to stay flat. If you find the applique fabric buckling while wrapping and tucking, clip the fabric and try the wrap again.
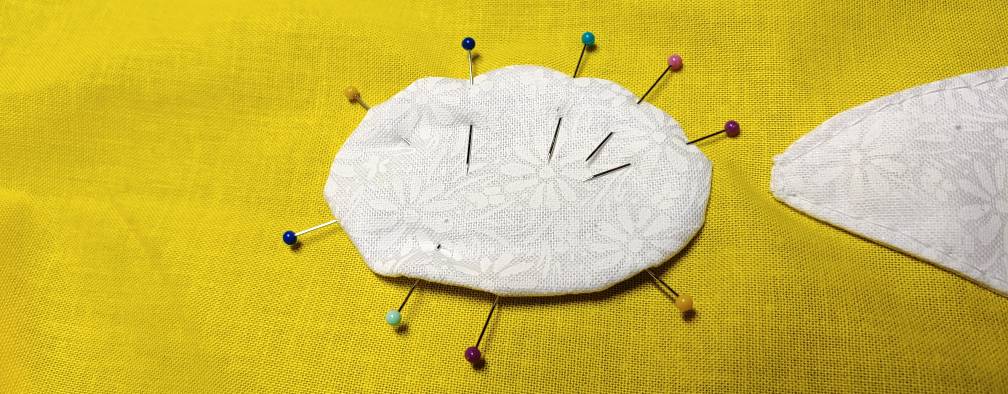
Continue tucking and pinning until you’ve pinned the entire circle.
Sewing the circle down
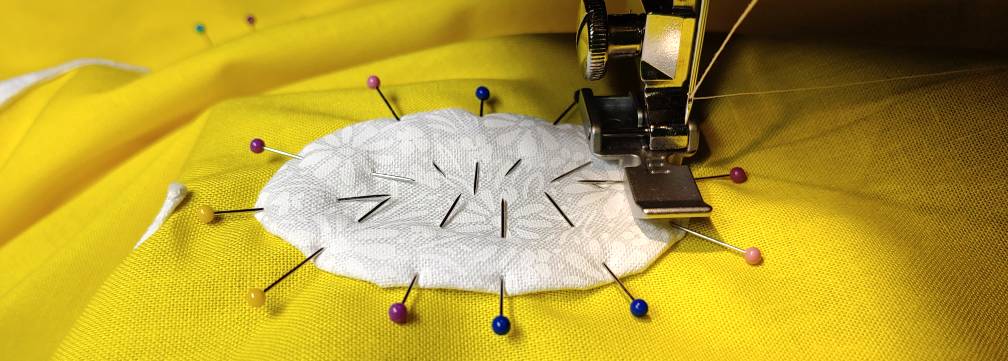
Now that you have your neat little tucked circle bundle, it’s time to sew it down. Lay your cosplay fabric flat on a table and place the circle face-up on the fabric. Once you’ve decided on the exact location for the circle, carefully transfer the pins from the tuck to pin the entire circle down to the fabric.
You can pin new pins or carefully pull the pins out and transfer them. If you’re transferring the pins, press down on the circle while removing the pins to keep from shifting the tucks underneath. The pin should slide out smoothly from underneath your finger.
Once pinned, carefully sew around the edge of the fabric. You want to get pretty close to the edge, around 1/8″ or so, to make sure the applique fabric and felt do not move. Use an open-toed, clear, or zipper foot to see the edge clearly. I’m using a zipper foot (I call it the ski) to line up the edge while sewing.
I recommend taking this slowly, especially if you have a smaller circle like I do. This will ensure that you get as close to the edge as possible and the stitches don’t run away from you while you’re turning the fabric. If you’re dealing with a lot of bulk like this, make sure to keep the bulk out of your line of sight. You can always refer to Hand and foot positions for your sewing machine for tips on working with bulk or turns. There are gifs!
Keep sewing around the circle until you’ve sewn the whole thing. Repeat for all your circles, and then you’re done!
I hope you enjoyed this little trick on how to make nice circle appliques! I hope it helps you make many circles for your cosplays, quilts, and whatever else you’d like to make! You could possibly expand this to other shapes as well to help you with your appliques.
Let me know what appliques you make! Show me your circles and your projects! @ me on social media so I can admire your work!
